
Creating CPart classes for actions and state binding
In this quick tutorial, I'll show how to create a StateActions Component
Part which is a great way to create
versatile, common, re-usable actions across all your Modulo JS
components. The end
result is already useful, and also gives you a useful structure to continue
writing more actions. Best of all, the actions you define are generic,
meaning they can be applied to future components regardless of what specific
state variables they are using.
So, let's get down to business!
Step 1 - Creating a CPart
Creating and registering a CPart:
To include this CPart in a Modulo project (at the top level, e.g. your /static/index.html):
Step 2 - Using in a Component
Adding a method, and then using the CPart and attaching it as a click function:
And how to use in your Component definitions:
Step 3 - Making generic
The most complicated step is next: Transforming the specific method into a generic action. We'll use the this.attrs so that the user of our generic CPart can specify which State variables they wish to modify. Now, instead of having to hardcode the value, let's make it more configurable, so it can be a "generic" action that can apply to any value:
And to use:
Step 4 - Adding another generic method
Cleaning up and final results with a default value, and adding "push" generic action:
Hopefully this tutorial will help you add re-usable JavaScript actions to your next Modulo JS project. If you found this interesting and are new to Modulo JS, then consider taking the interactive tutorial, or just playing around with some examples to get a better idea of what you can do with this mighty little 2000 line framework. Either way, feel free to follow me here for more tutorials like this. Thanks for reading!
🗣️ Comments
Commenting available on dev.to:
View Comments (dev.to) Creating a SVG-based Word Art curve designer
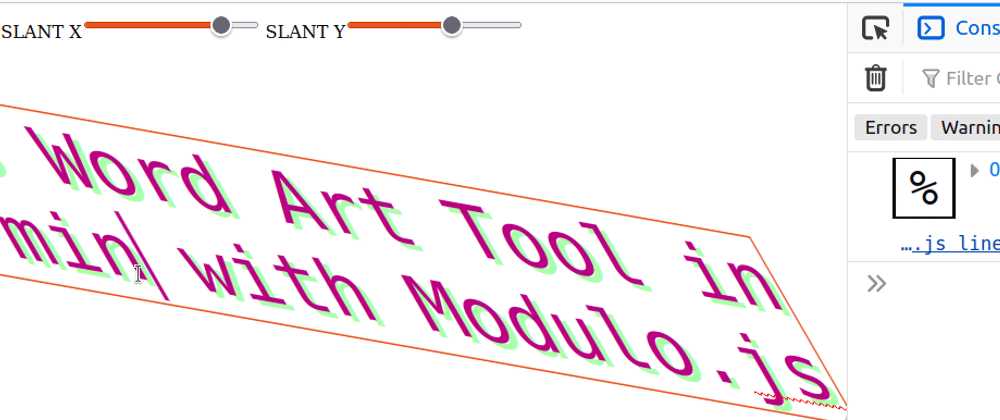 Building a word art skew design tool
 Using two-way state binding and the global store